Getting straight to it, we've made our mould and now we really want to make the puppets head.
Firsty you're going to need the best, and my favourite, product for making sure your final latex head will release from the mould.
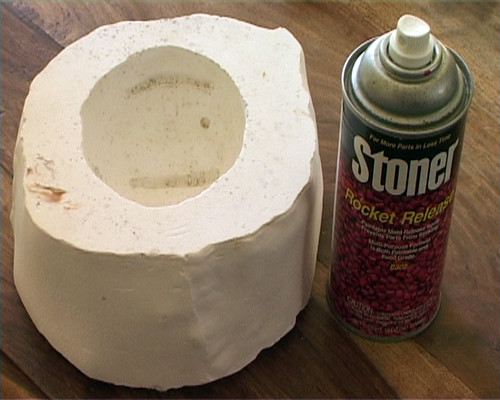
That's right, get yourself a high quality Stoner. This particular Stoner is food grade so you know it's not going to damage you, the mould or the final head. If you yourself are a Stoner don't be tempted eat this stuff though, there's some chips in the cupboard. Just use the spray, one coat is usually enough, on inside and the top of the mould.
Then take some of this...
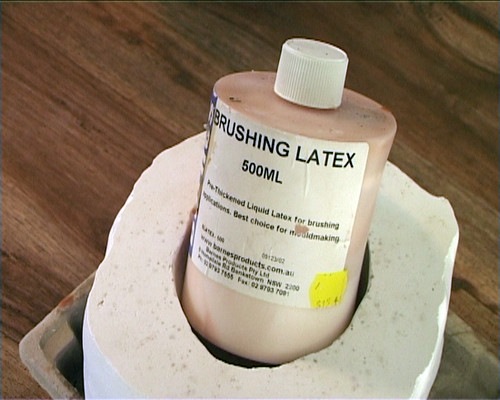
And do this...
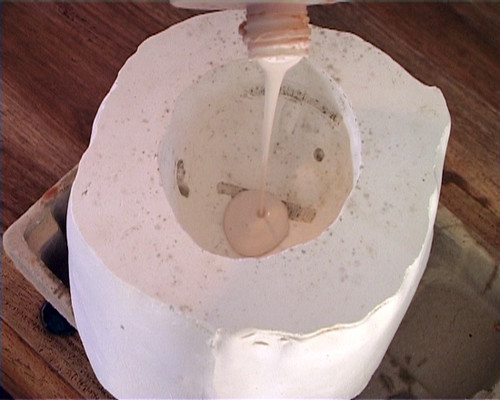
Now, pre-thickened brushing latex is pretty, well, thick so make sure you get it into all the crevices of your mould leaving no air pockets. The latex will run so just rotate your mould in your hands until it's completely covered. For bigger moulds, hire a weight lifter or use a paint brush, which ever is cheaper or more desirable. I used a paint brush to make sure the inside of Brun's ears were completely covered with latex and had no air pockets. Word to the wise, buy a $40 camel hair paint brush because covering a paint brush with latex will ruin it within a few minutes and you'll feel like an idiot for not buying a set of cheap disposable paint brushes for the job. Well, at least I'd get to laugh at you... anyway... by the end of the process it should look something like this...
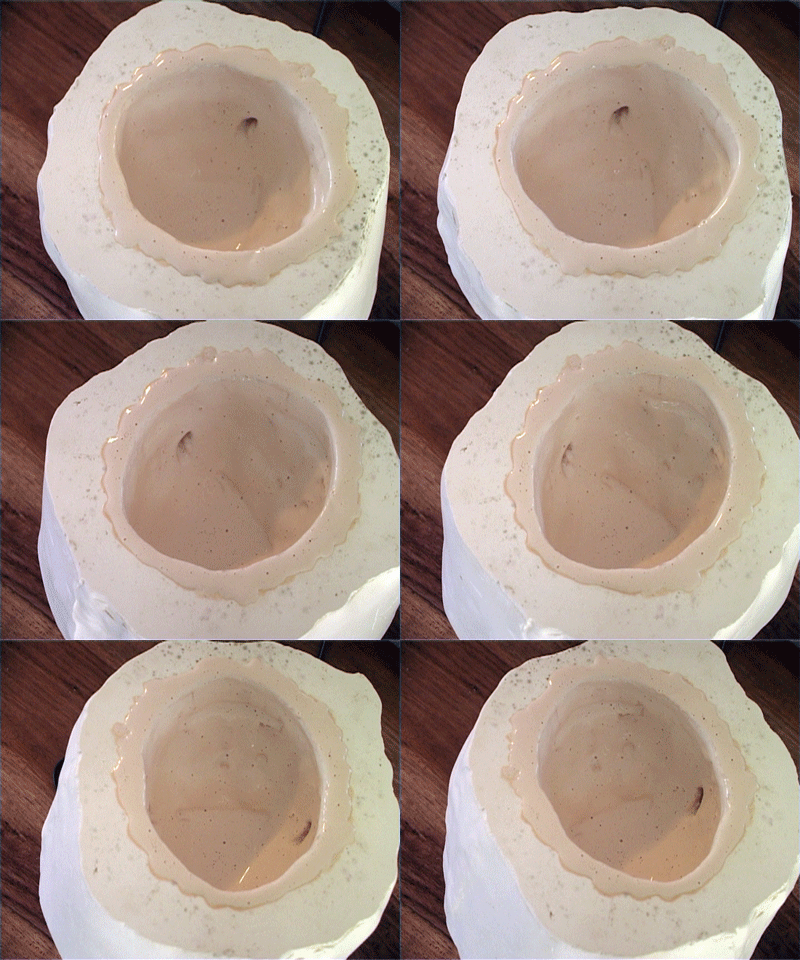
While you're waiting for that to dry, it'll only take a few hours depending on the thickness of the coat, the temperature and the humidity, grab some of these and cut them into thin strips.

Your work space will probably be a little messy after all this artsy stuff
so you might want to use the left over chux to clean your place a little.
Yay, it's dry-ish, now, using a CHEAP paint brush (Ha!) and some more latex and brush the chux strips onto the inside of your now latex coated mould.
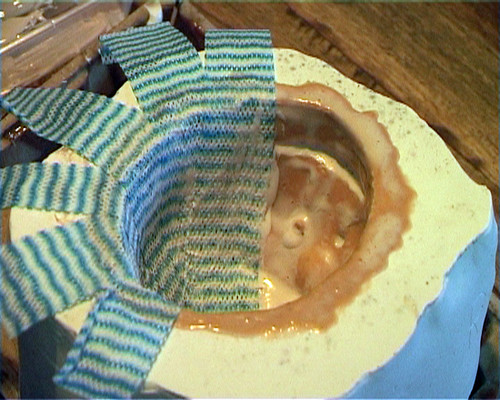
The strips will stick to the inside and give the head structural integrity,
rigidity, um, make it less bendy.
You may want to do a few chux layers depending on the size of your head. The bigger the head, the more layers. Basically you're trying to make sure the head can support it's own weight, like this...
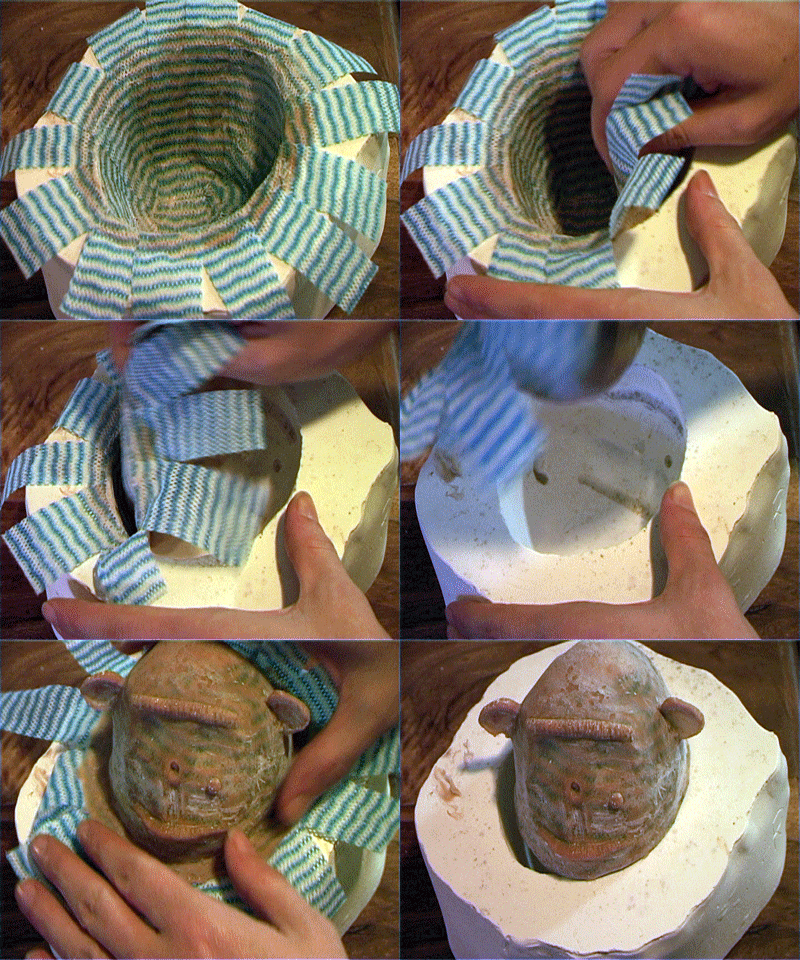
Give it a little trim and you'll have an ugly lump of latex in the shape of your puppets head.
Ummm, what next, oh yeah, the dude needs a nose. You can make one out of clay but I recommend this polymer clay modelling compound.
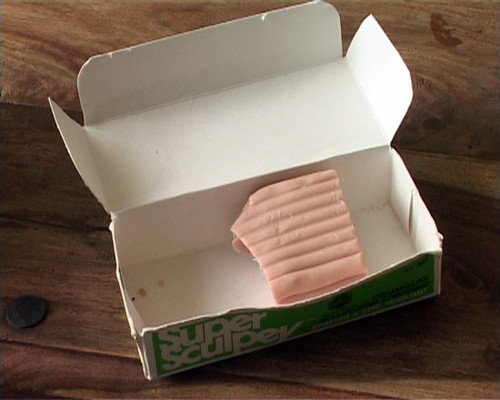
It's kinda expensive but totally worth it. After you've made the nose (or any other object you want I guess) you bake it in an ordinary oven (130ºC (275ºF) for 15mins per 6mm (1/4inch) of thickness) and it hardens to a porcelain like material that can be sanded, carved, drilled and painted. It's pretty neat stuff. Anyway, enough salesman-ship, make the damn nose.
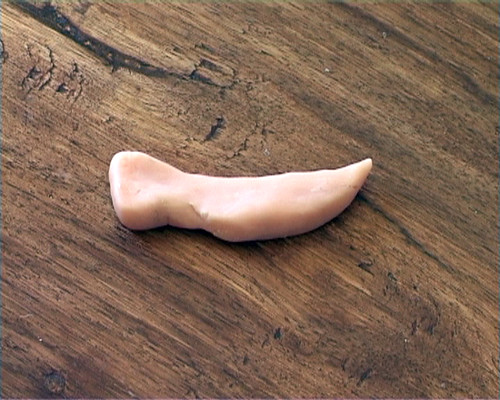
Thank you.
I attached the nose using a piece of thin wire pushed through the latex head and into the nose. I tried it on the head before baking the nose to make sure it fit and so there was a hole in the end of the nose for the wire to fit into when putting it on the head for real. A small dab of super glue will hold the final baked nose to the wire. Like this...
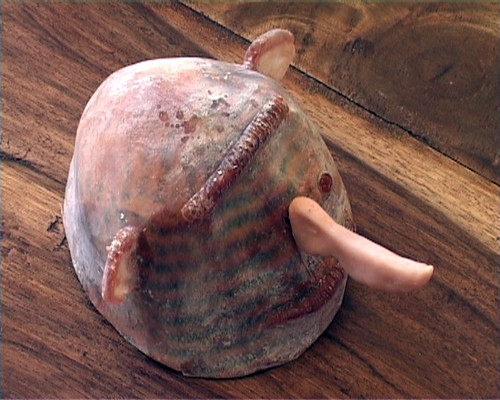
Now he's pretty much done, but really ugly... use a sharp knife and cut his mouth open (oooouch!) then get some Acrylic paint mixed with a good portion of (brush ruining) latex...
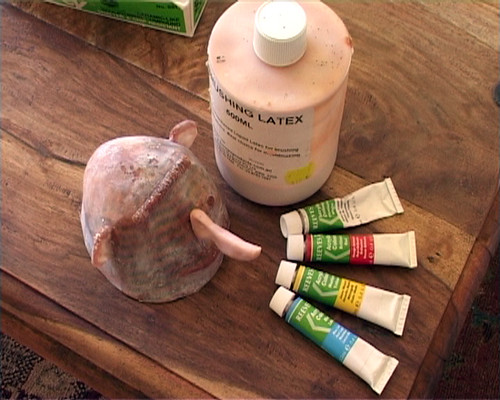
...and paint that sucker until he's, like, totally gorgeous... or something... at least make sure you use lots of painty/latex mixture around his nose to make sure it's bonds to the main part of the head. You can also make some teeth out of Sculpey and super-glue them to the inside of the mouth.
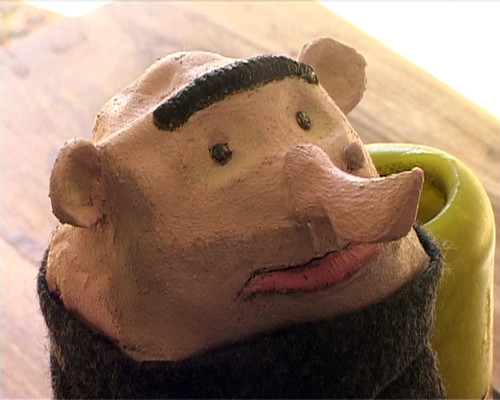
I know the paint looks rough but that's how I wanted it.
There are ways of making is as smooth as you want.
That's totally enough for now. I'll probably do another post on the body, clothes and the controls for the head ('cause his mouth actually does work). So until next time (sometime in the year 2020 it would seem at this rate), have a good 4th of July and if you have any questions leave me a comment.


